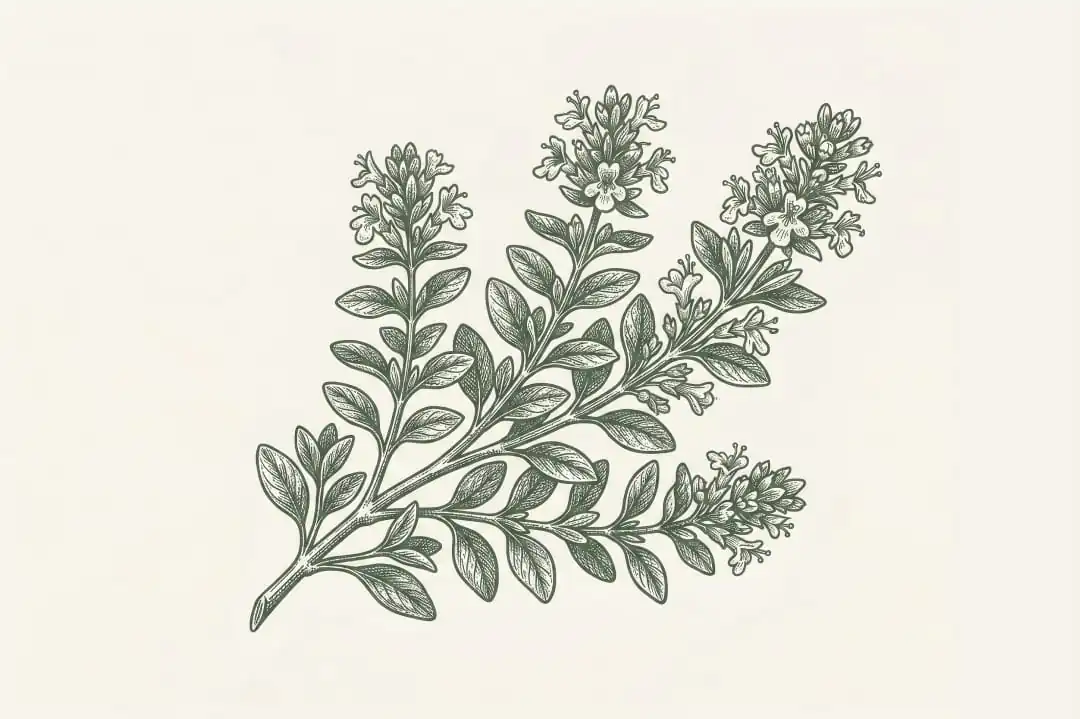
So you want to grow Thyme
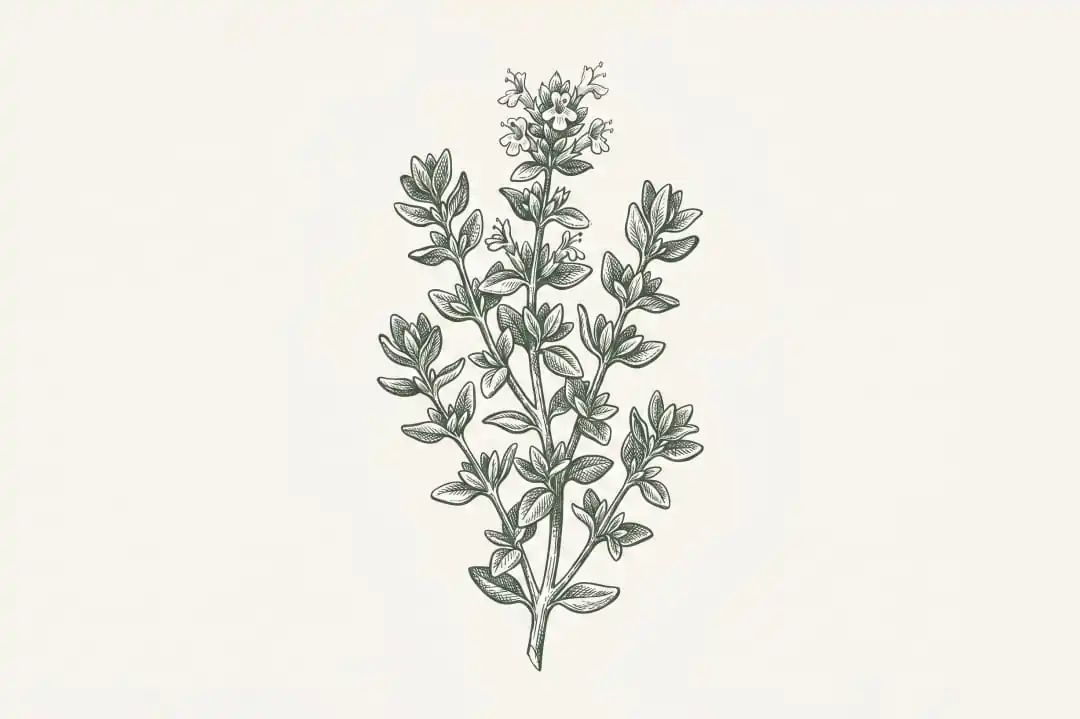
Thyme ~ Thymus vulgaris
Family: Lamiaceae
Thyme is the herb that earns its space quietly. It doesn’t demand attention, it doesn’t take over, and it doesn’t sulk when you ignore it for a few weeks. Plant it somewhere sunny with decent drainage and it largely gets on with things. What you get in return is a plant you reach for constantly in the kitchen, one that looks good in the garden year-round, and one that the bees find before you do every time it flowers.
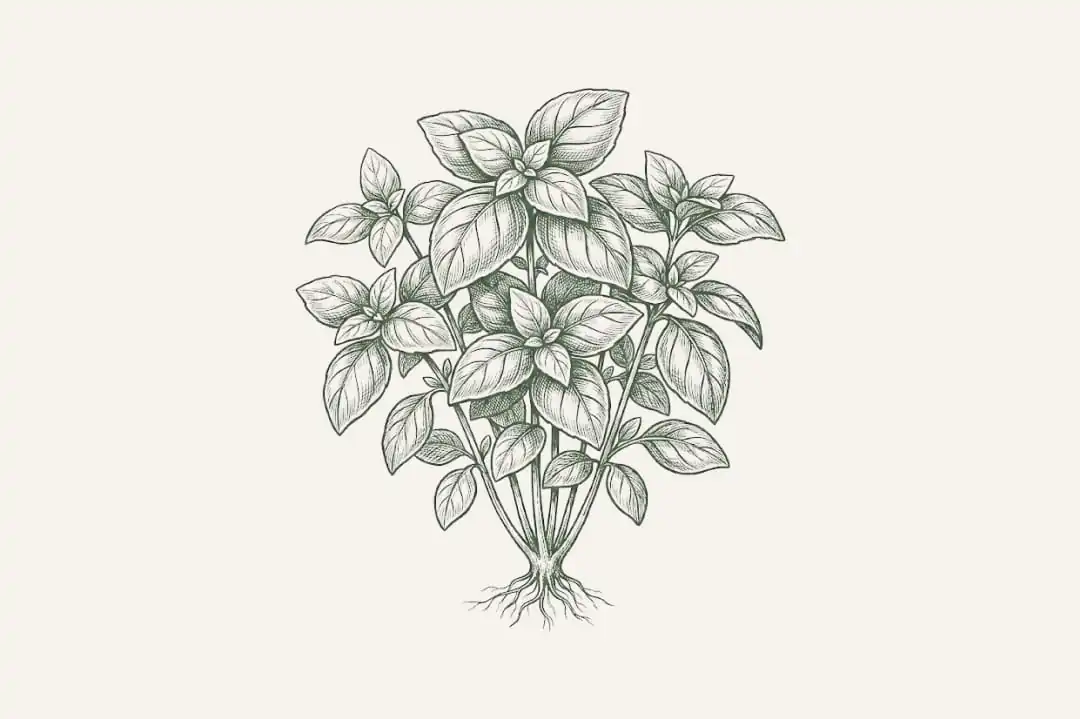
[PHOTO: Established thyme plant in garden bed or pot, showing flowering or dense bushy habit]
Getting the timing right across Australian climates
On the Mid North Coast, thyme can go in the ground in autumn or spring. Autumn is the better option. It gives the plant a full mild winter to establish before facing its first summer, and the cooler conditions suit the Mediterranean origins of the plant. Spring planting works but new plants need more attention through their first hot, humid season.
Subtropics (NSW coast, SE Queensland):
Autumn is ideal. March to May. Spring planting from August to October also works. The challenge on the subtropical coast is humidity rather than heat. Good drainage and airflow matter more here than almost anywhere else.
Temperate (Sydney, Melbourne, Adelaide):
Spring and autumn. September to November and March to May. Thyme is well suited to temperate Australia and establishes readily across most of this zone. Melbourne growers can plant year-round in sheltered positions.
Tropics (Darwin, Cairns, Far North Queensland):
Difficult in true tropical conditions. The combination of persistent heat and humidity works against thyme in a way that drought alone wouldn’t. Dry season planting from April to August gives it the best chance, but it is unlikely to persist as a long-term plant in this climate.
Cool and alpine (Canberra, Tasmania, NSW highlands):
Spring planting once frost risk has passed. Thyme is frost hardy once established and actually thrives in cool temperate conditions. It grows more slowly but produces intensely flavoured foliage. A well-established thyme plant in a cool climate is one of the most reliable herbs in the garden.
Common thyme (Thymus vulgaris) is the workhorse for the kitchen. Lemon thyme is worth growing alongside it for fish and chicken dishes where the citrus note adds something useful. Creeping thyme varieties are lower growing and suit paths or rockeries but have less culinary value. Stick to common thyme as your primary plant and add varieties from there.
Soil & Fertilising
Thyme shares its origins with rosemary and lavender. Thin, well-drained, slightly alkaline soil on rocky Mediterranean hillsides is what it evolved in. That tells you what it needs and, more importantly, what it can’t handle.
Free drainage is the priority. Soil that holds water after rain will rot the roots and kill the plant. On the Mid North Coast, heavy clay soils need coarse sand and compost worked through them before planting. Raised beds solve this problem cleanly if your native soil is problematic.
pH between 6.0 and 8.0, with slightly alkaline conditions genuinely suiting it. A small lime application at planting time is worthwhile in acidic soils. Thyme in acidic ground grows, but slowly and with less flavour than it produces in neutral to alkaline conditions.
Soil fertility requirements are low. Rich soil produces soft, lush growth with less aromatic intensity. The oils that give thyme its flavour and fragrance concentrate in response to lean conditions. A light dressing of compost at planting and nothing further through the season is enough. Skip the manure and the high-nitrogen feeds entirely.
Thyme in a pot is a practical option on the Mid North Coast. It allows precise control over drainage and soil composition, and the pot can be moved to improve airflow during humid periods. Use a quality potting mix cut with coarse sand or perlite, and make sure the pot has drainage holes that actually drain.
Sun and shade
Full sun. Thyme grown in shade produces weak, open growth with noticeably less flavour. It also sits wetter in shade, which compounds the humidity problem on the Mid North Coast. The sunniest, most exposed position you have with good airflow is the right spot. Do not compromise on this.
Planting
Seedlings or cuttings, not seed
Growing thyme from seed is slow and inconsistent. Germination rates vary, seedlings are fragile in their early weeks, and named varieties don’t come true from seed. A nursery seedling or a cutting from an established plant is the practical starting point.
Cuttings root readily. Take a 8 to 10cm cutting from new growth, strip the lower leaves, and push it into a pot of coarse propagating mix. Keep moist and out of direct sun for three to four weeks until roots develop. Once established, plant out into a prepared position.
When planting out, set at the same depth as the pot. Thyme does not benefit from being planted deep. Firm the soil around the rootball and water in thoroughly. After the initial establishment watering, ease back. Overwatering a newly planted thyme is the fastest way to lose it.
Space plants 30 to 40cm apart. A single plant provides more thyme than most kitchens use regularly. Two plants covers fresh use and drying with room to spare.
[PHOTO: Young thyme seedling or cutting being planted, or small plant in pot ready to go out]
Water & Light
Once established, thyme is drought tolerant and prefers to dry out between waterings. On the Mid North Coast, rainfall through the cooler months is usually sufficient for an established plant. Supplemental watering during dry spells is fine. Consistent wet roots are not.
The first summer after planting is the exception. Water new plants once a week through hot, dry periods to support the developing root system. After that first season, pull back and let the plant find its own level.
Do not mulch heavily around the base of thyme. Organic mulch holds moisture and reduces airflow at the crown, which is exactly what thyme doesn’t need in a humid climate. If you want something around the base, a light gravel mulch is better than straw or wood chip.
Pruning keeps the plant productive and is part of managing it through the humid months. Cut back by about a third after flowering to encourage fresh growth and prevent the plant becoming a dense, woody mass that doesn’t dry out after rain. Do not cut into old woody stems that have no green growth on them. They rarely recover.
Problems and troubleshooting
Thyme is a low-maintenance plant. Most problems are moisture-related and preventable with the right position and soil.
Pests
Occasionally appear on new spring growth. Thyme’s oils make it less attractive than softer herbs but aphids will cluster on tender new tips when numbers are high in the garden. A jet of water is usually enough. Neem oil handles anything more persistent.
A genuine risk on thyme during hot, dry conditions. Fine webbing on the undersides of leaves and a speckled or bronzed appearance to the foliage are the signs. Strong jets of water dislodge them. Neem oil is effective for persistent infestations. Keeping the plant well-watered through dry periods reduces stress that mites exploit.
White foamy masses on stems in spring. Wash off with water. They cause minor direct damage but can spread plant viruses if left unchecked. Check through the growing season and deal with them early.
Diseases
The main killer of thyme in humid climates. The plant wilts and dies back from the base despite looking adequately watered. That’s the tell. Watering more makes it worse. Pull the plant and check the roots. Brown, mushy roots confirm root rot. There is no recovery. Remove the plant, improve drainage, and replant in a better position. This is why drainage matters more than anything else for thyme on the Mid North Coast.
Grey fuzzy mould on stems and foliage during extended wet periods. More common in dense, unpruned plants where the interior stays damp after rain. Prune out affected material, improve airflow, and avoid overhead watering. Regular pruning to keep the plant open is the best prevention.
White powdery coating on foliage, more common in warm conditions with poor airflow. Adequate spacing and regular pruning reduce it. A baking soda spray at early signs is a reasonable response. Badly affected stems should be removed.
Non-pest problems
An unpruned thyme plant becomes increasingly woody with productive foliage only at the tips. The fix is consistent pruning after each flowering period. Cut back by a third into green growth each time. Hard pruning into bare wood rarely recovers well, which is why regular light pruning is far better than occasional heavy intervention.
Thyme grown in rich soil, over-fertilised, or in shade produces plenty of foliage and very little flavour. The aromatic oils concentrate in response to stress, heat, and sun. If your thyme tastes flat, look at the conditions first before assuming the plant is the problem. Lean soil and full sun are the fix.
A plant that has been growing well and then suddenly collapses is almost always root rot working from below. It can look fine until it doesn’t. Check the roots before assuming the problem is above ground. If they are brown and mushy, drainage was the issue. Amend the bed or choose a different position before replanting.
When and how to harvest
Thyme can be harvested any time the plant has enough growth to spare. The same rule as rosemary applies: never take more than a third of the plant at once. Regular light harvesting encourages the plant to bush out and produce more.
Cut from the tips of stems using sharp scissors or secateurs, just above a leaf node. The plant branches from the cut point, so consistent harvesting shapes it into a productive, dense bush over time. Pulling or tearing stems damages the plant and leaves ragged entry points for disease.
The best flavour comes from the young growth at the tips just before or during flowering. This is when oil content is highest. For everyday kitchen use the timing matters less. For drying, harvest just as the flowers are opening for the best flavour retention.
Harvest in the morning after the dew has dried. Oil content peaks earlier in the day and drops in the afternoon heat. For fresh use it makes little practical difference. For preserving it is worth getting right.
Companion plants
- Rosemary
- Sage
- Lavender
- Brassicas (repels cabbage moth and whitefly)
- Tomatoes
- Strawberries
Plants that aren’t friends
- Mint (different water requirements and spreads aggressively)
- Basil (needs more moisture and richer soil than thyme tolerates well)
- Fennel – keep isolated from the herb garden entirely
In the kitchen
Thyme is a background herb, and that is not a criticism. It does the work that holds a dish together without announcing itself. Remove it and something is missing. Leave it in and nobody mentions it specifically. That quiet usefulness is what makes it one of the most-reached-for herbs in a kitchen that grows its own.
Fresh thyme keeps in the fridge for one to two weeks wrapped loosely in a slightly damp cloth. Unlike soft herbs it doesn’t deteriorate quickly once cut. For longer storage, dry it: tie small bundles and hang upside down in a warm, airy spot for two weeks. Strip the dried leaves from the stems and store in a sealed jar away from light. Properly dried thyme retains good flavour for up to a year.
Thyme salt
Strip fresh leaves and mix with coarse salt at roughly one part thyme to four parts salt. Spread on a tray to dry for a day, then store in a jar. Works on roast chicken, vegetables, eggs, and anything going on the barbecue. Keeps for months and costs almost nothing to make.
Thyme oil
Fresh sprigs packed into a bottle and covered with good olive oil. Leave for two weeks in a cool, dark spot. Strain and use within a month, kept refrigerated. Good for roasting, dressings, and finishing dishes. Make small batches and use them rather than letting it sit.
Thyme honey
Warm honey gently and steep fresh thyme sprigs in it for an hour. Strain and bottle. Good with cheese, drizzled over roasted stone fruit, or stirred into a hot drink. The floral and herbal combination is better than it sounds on paper.
With chicken
The pairing most kitchens reach for first, and for good reason. Whole sprigs under the skin before roasting, or stripped leaves mixed with butter and pushed under the breast. The herb holds up to the fat and the heat in a way that softer herbs don’t. Lemon thyme works particularly well here if you have it growing.
In a braise
Thyme is a core component of a bouquet garni for good reason. It releases its flavour slowly in liquid and doesn’t turn bitter or disappear the way softer herbs do over long cooking. Add whole sprigs to braises, stocks, and slow-cooked dishes and remove them at the end. The stems strip out cleanly.
With mushrooms
Thyme and mushrooms have an affinity that is worth knowing. Sauteed mushrooms with butter, garlic, and fresh thyme stripped directly into the pan is a side dish that earns its place alongside almost anything. The earthiness of the mushrooms and the herb work in the same direction.
On bread
Fresh thyme leaves pressed into focaccia dough alongside sea salt and good olive oil. Or stripped into a compound butter for toast. Simple and consistently good. A plant that does this reliably from three metres outside the kitchen door is hard to argue with.